- September 24, 2024
- Posted by: Anisha P
- Category: Snowflake
Introduction:
The rapid growth of Internet of Things (IoT) devices has led to an explosion of data generated in real-time from various sources. One of the most effective ways to handle streaming data is by integrating IoT devices with cloud-based data platforms that can scale with demand.
In this blog, we will explore how to load IoT streaming data into a Snowflake table using AWS services. Specifically, we will focus on a scenario where a laptop, functioning as an IoT device, sends data via MQTT messages to AWS IoT Core. These messages are then streamed through Kinesis Data Firehose and ultimately loaded into a Snowflake table.
Prerequisites:
- IoT Device
- AWS account
- Snowflake
Architecture diagram:
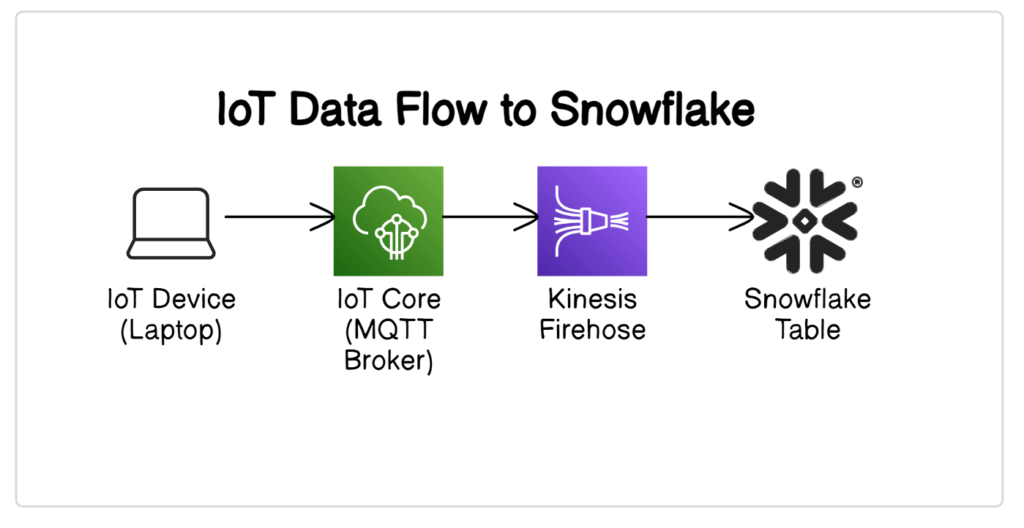
This process involves several key components:
- Laptop as IoT Device: The laptop simulates an IoT device, generating data that is published as MQTT messages.
- AWS IoT Core: This service manages the MQTT messages, offering a scalable and secure way to handle IoT data. Rules are configured within IoT Core to route these messages to the appropriate destination (Firehose Stream).
- Kinesis Data Firehose: This fully managed service allows for the easy capture, transformation, and loading of streaming data into various destinations, including Snowflake.
- Snowflake: A powerful cloud-based data warehouse where the streaming data is ultimately stored, enabling further analysis and querying.
Action Items:
Laptop as an IoT device:
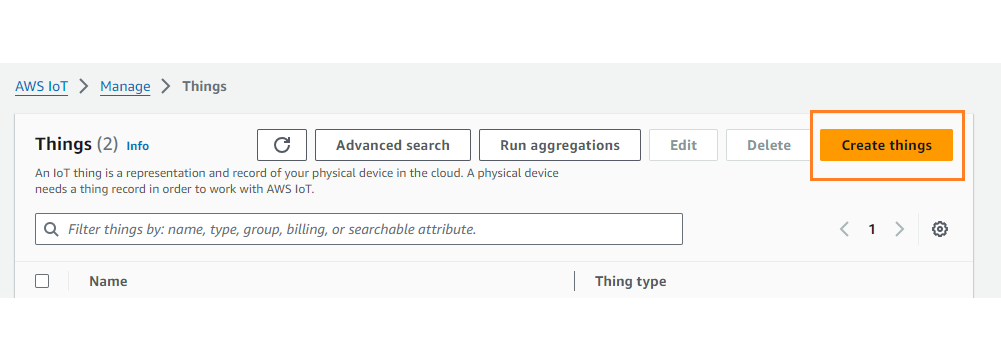
To create a Thing in the AWS IoT console,
- In the AWS IoT console, in the left menu, choose All devices and then choose Things.
- On the Things page, choose Create things.
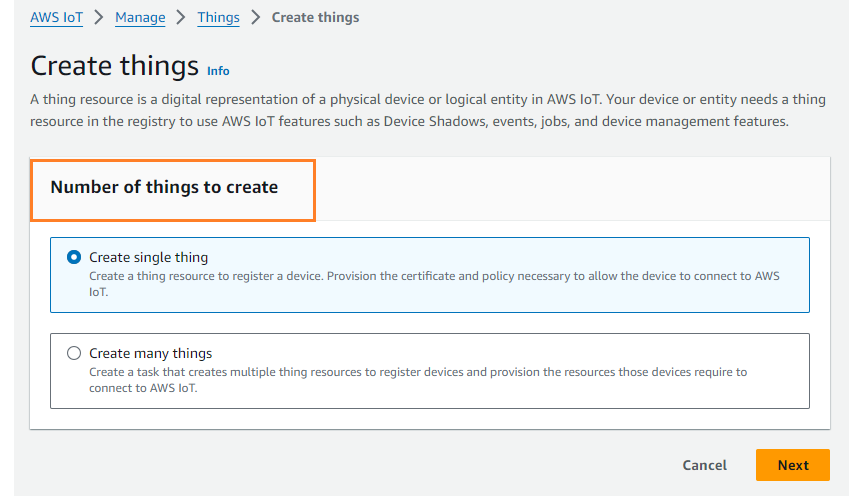
- On the Create things page, choose Create a single thing, then choose Next.
- On the Specify thing properties page, for Thing name (Laptop), enter a name for your thing. Note: Thing name can’t be changed.
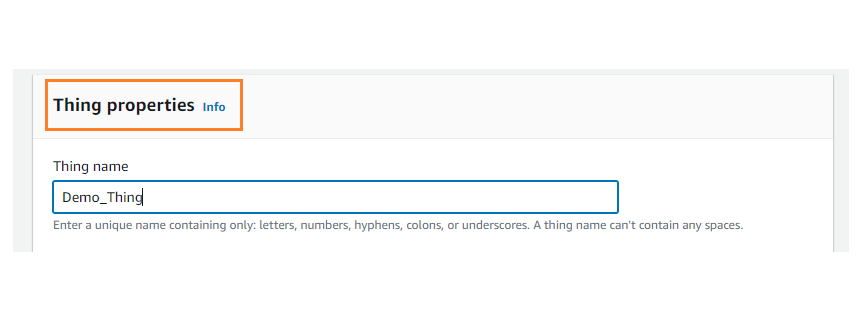
- Keep the rest of the fields on this page empty. Choose Next.
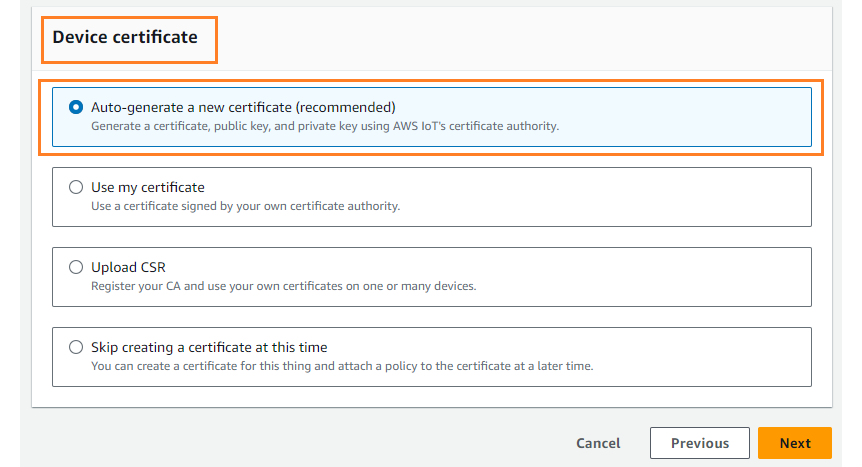
- On the Configure device certificate – optional page, choose Auto-generate a new certificate (recommended). Choose Next.
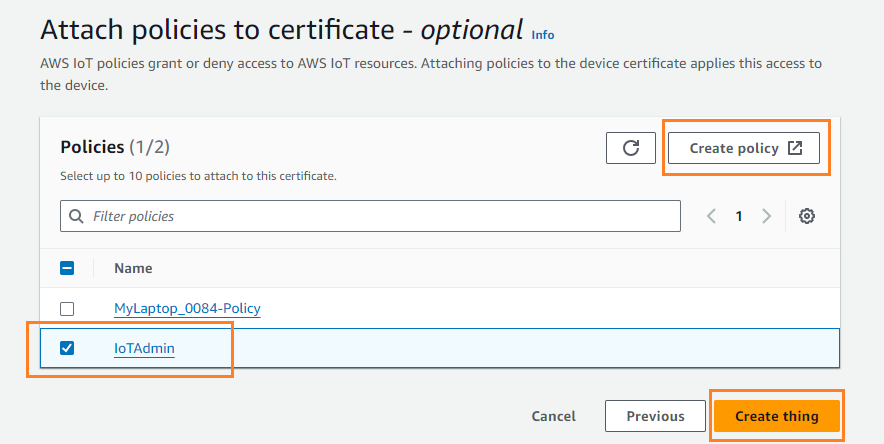
- On the Attach policies to certificate – optional page, Mention the policy name, if no policy was created, create a policy and mention the same and choose Create thing.
To create an AWS IoT policy
- In the AWS IoT console, in the left menu, choose Security and then choose Policies.
- On the You don’t have a policy yet page, choose Create policy. If your account has existing policies, choose Create policy.
- On the Create policy page:
- In the Policy properties section, in the Policy name field, enter a name for the policy.
- In the Policy document section, create the policy statements that grant or deny resources access to AWS IoT Core operations. To create a policy statement that grants all clients to perform iot:Connect, follow these steps:
- In the Policy effect field, choose Allow. This allows all clients that have this policy attached to their certificate to perform the action listed in the Policy action field.
- In the Policy action field, choose ‘*’
- In the Policy resource field, enter a resource Amazon Resource Name (ARN) or *. A * to select any client (device).
- On the Download certificates and keys page:
- Download each of the certificate and key files and save them for later. You’ll need to install these files on your device.
- To download the root CA file for these files, choose the Download link of the root CA certificate file that corresponds to the type of data endpoint and cipher suite you’re using.
- Choose Done.
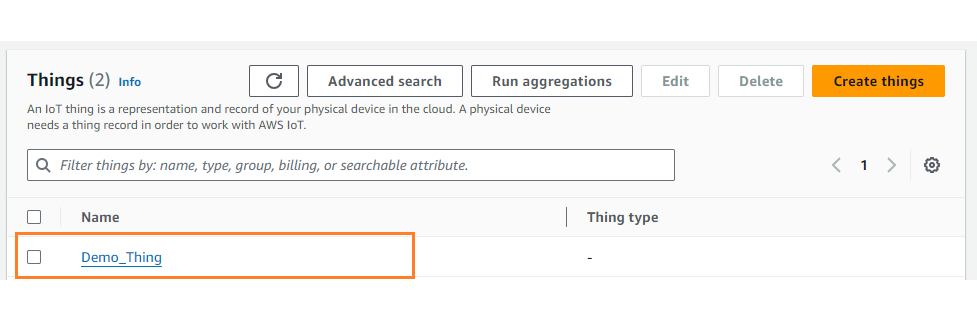
After you complete this procedure, you should see the new thing object in your list of things.
IoT Core (MQTT Broker):
This Python code connects to AWS IoT Core, periodically reads data from a CSV file, publishes it to an MQTT topic, and logs the process. It is designed to run continuously, performing data publishing tasks every minute.
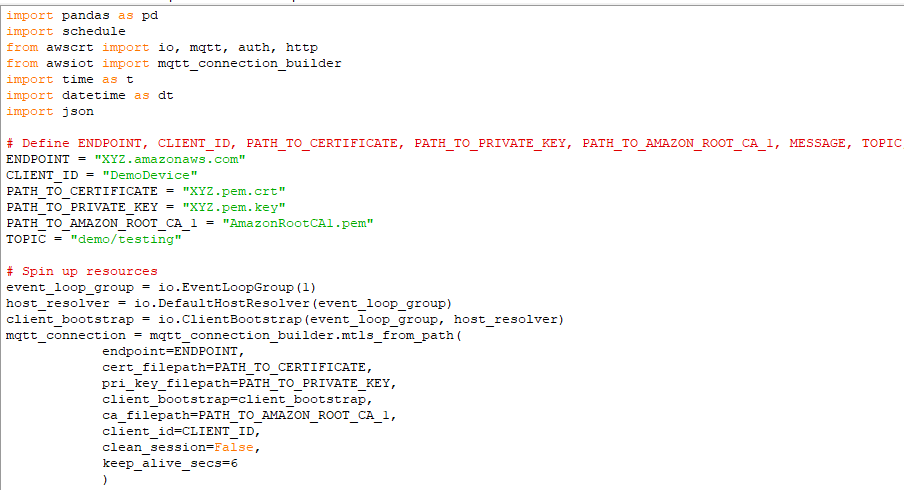
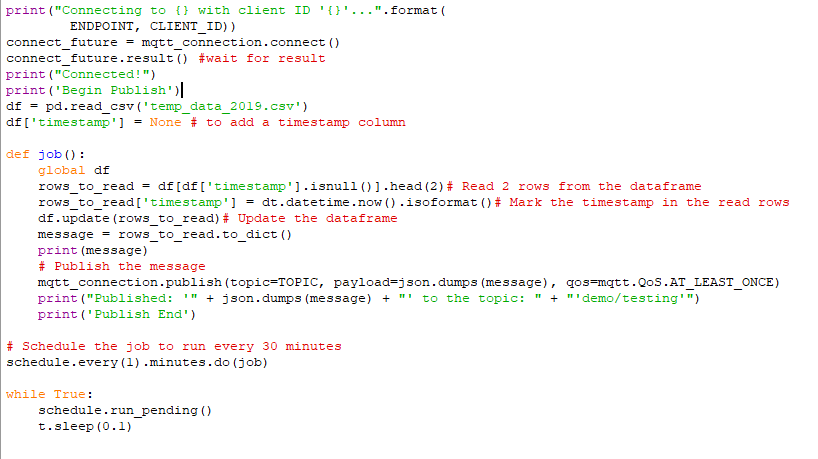
Imports:
- pandas: For data manipulation and analysis, specifically to handle the CSV file.
- time: Provides time-related functions, including the current time.
- schedule: Used to run tasks periodically.
- awsiot and related imports: AWS IoT SDK components to handle MQTT communication with AWS IoT Core.
- json: For encoding data as JSON to be sent over MQTT.
Configuration Variables:
- ENDPOINT: AWS IoT Core endpoint URL (Navigate to IoT core > Settings > Endpoint).
- CLIENT_ID: Identifier for the MQTT client, here it’s “DemoDevice”.
- PATH_TO_CERTIFICATE: Path to the client certificate.
- PATH_TO_PRIVATE_KEY: Path to the client private key.
- PATH_TO_AMAZON_ROOT_CA_1: Path to the Amazon root CA certificate.
- TOPIC: MQTT topic to which messages will be published.
Setting Up AWS IoT MQTT Connection:
- event_loop_group: Manages asynchronous events.
- host_resolver: Resolves hostnames to IP addresses.
- client_bootstrap: Provides the bootstrap for the client connection.
- mqtt_connection: Establishes the MQTT connection with AWS IoT Core using mutual TLS authentication.
Connecting to AWS IoT Core:
- connect_future: Represents the asynchronous connect operation.
- connect_future.result(): Blocks until the connection is established.
Loading and Preparing Data
- df: DataFrame loaded from the CSV file.
- timestamp: Added column to record when a row is processed.
- Job Function
job(): Function to read and publish data:
- rows_to_read: Selects rows where timestamp is None and retrieves the top 2 rows.
- timestamp: Updates the selected rows with the current Unix time.
- df.update(rows_to_read): Updates the DataFrame with the new timestamps.
- message: Converts the selected rows to a dictionary.
- mqtt_connection.publish(): Publishes the message to the specified MQTT topic.
- print: Logs the published message for debugging.
Scheduling the Job:
- schedule.every(1).minutes.do(job): Schedules the job() function to run every minute.
Running the Scheduler:
- schedule.run_pending(): Executes any scheduled tasks that are due.
- t.sleep(0.1): Pauses the loop briefly to prevent high CPU usage.
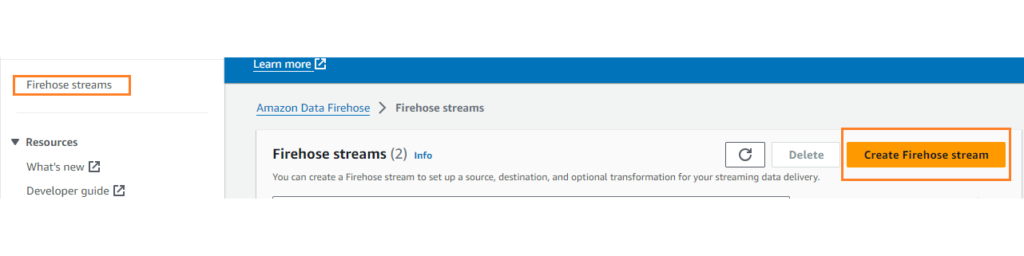
Firehose stream setup:
Click on Amazon Data Firehose, click Create Firehose stream button.
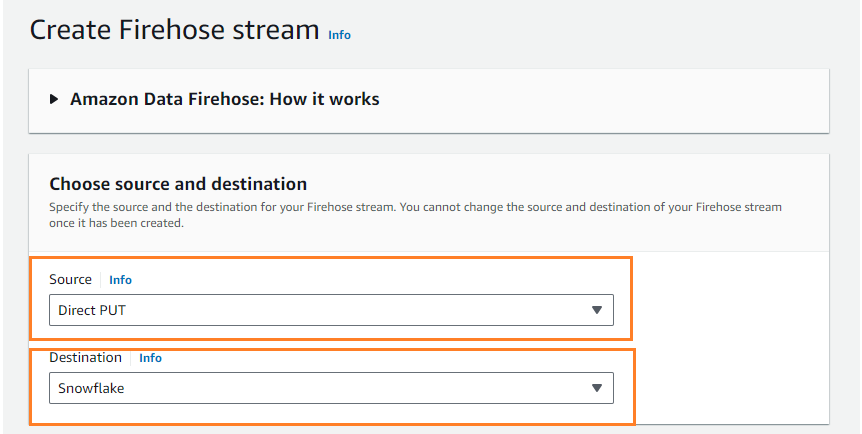
Specify the source and destination, under Source there are 3 options:
Amazon Kinesis Data Streams – Choose this option to configure a Firehose stream that uses a Kinesis data stream as a data source.
Amazon MSK – Choose this option to configure a Firehose stream that uses Amazon MSK as a data source.
Direct PUT – Choose this option to create a Firehose stream that producer applications write to directly.
In this use case, we choose Direct PUT.
Once the source is selected, the destination list is provided such as
- Amazon OpenSearch Service
- Amazon OpenSearch Serverless
- Amazon Redshift
- Amazon S3
- Apache Iceberg Tables
- Elastic
- HTTP Endpoint
- MongoDB Cloud
- Splunk
- Snowflake and more.
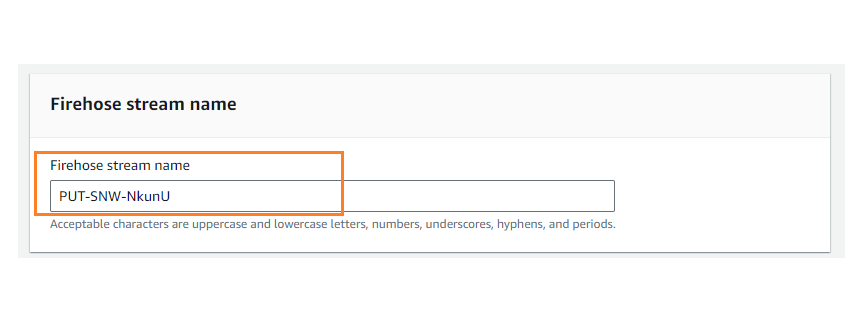
Choose Snowflake as the destination, once selected we get further options where Firehose stream name is provided, if required alter the stream name else go with the default one.
Next, Snowflake connection details must be provided,
Provide values for the following fields:
Snowflake account URL
Specify a Snowflake account URL. For example: xy12345.us-east-1.aws.snowflakecomputing.com.
Authentication
Specify how you want to configure the authentication to access your destination. There are 2 options,
- Use user and private key
- Use AWS Secrets Manager – new

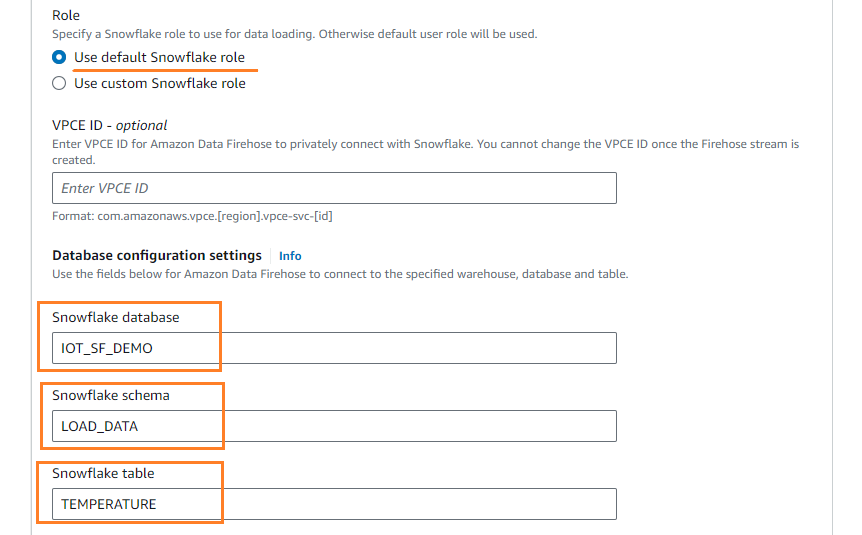
Role
Specify a Snowflake role to use for data loading. Otherwise, default user role will be used. Choose one of the below options,
- Use default Snowflake role
- Use custom Snowflake role
Database configuration settings
Use the fields below for Amazon Data Firehose to connect to the specified warehouse, database and table. Provide the following details,
- Snowflake database
- Snowflake schema
- Snowflake table
There are 2 options in which data can be loaded, options for your Snowflake table:
- Use JSON keys as table column names
- select Use VARIANT columns
If “VARIANT columns” is selected, provide the Content column name.
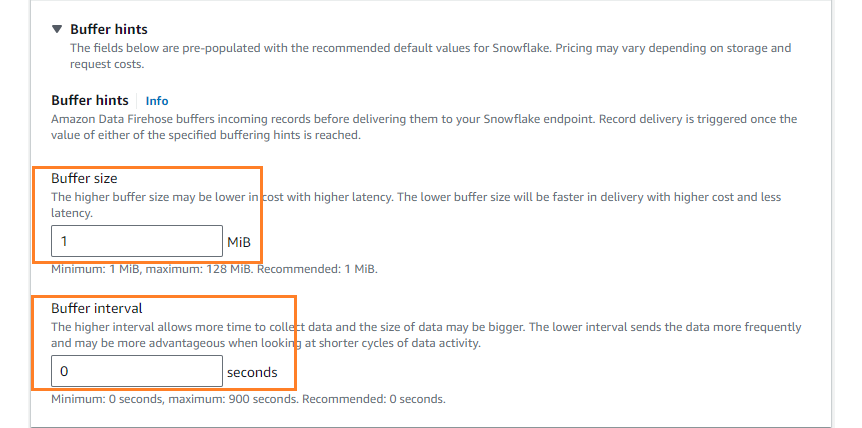
Buffer hints
Amazon Data Firehose buffers incoming records before delivering them to your Snowflake endpoint. Record delivery is triggered once the value of either of the specified buffering hints is reached.
Buffer size
Specify the Buffer size, the higher buffer size may be lower in cost with higher latency. The lower buffer size will be faster in delivery with higher cost and less latency.
Minimum: 1 MiB, maximum: 128 MiB. Recommended: 1 MiB.
Buffer interval
Specify the Buffer interval, the higher interval allows more time to collect data and the size of data may be bigger. The lower interval sends the data more frequently and may be more advantageous when looking at shorter cycles of data activity.
Minimum: 0 seconds, maximum: 900 seconds. Recommended: 0 seconds.
Backup settings
Enabling source data backup ensures that the data can be recovered if record processing transformation does not produce the desired results.
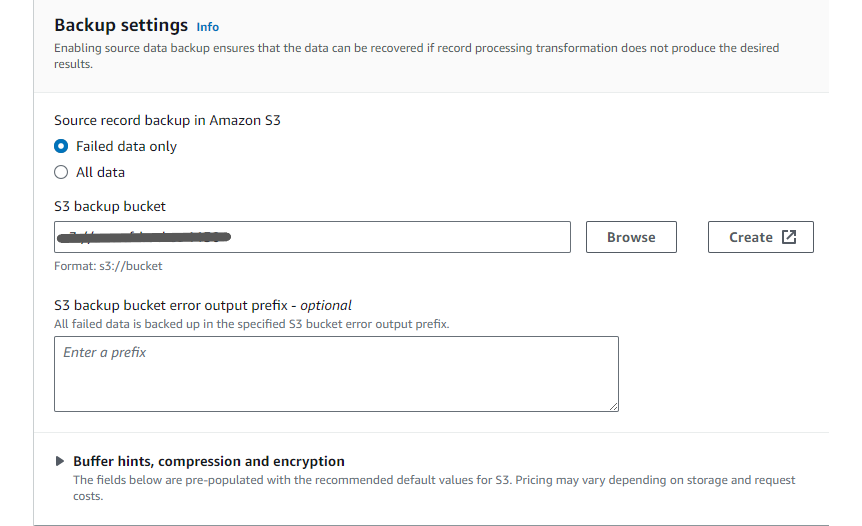
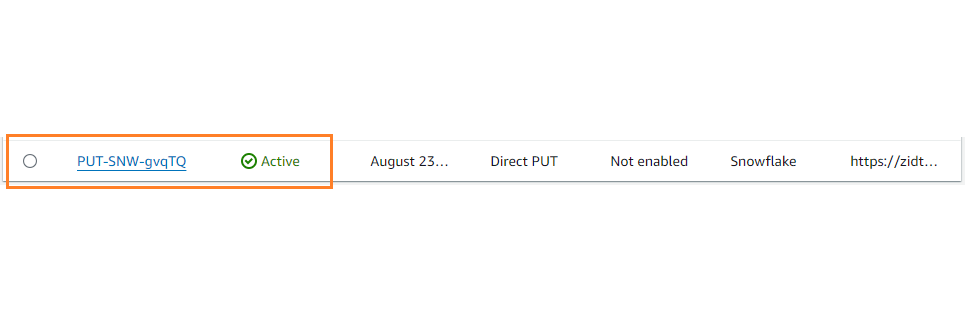
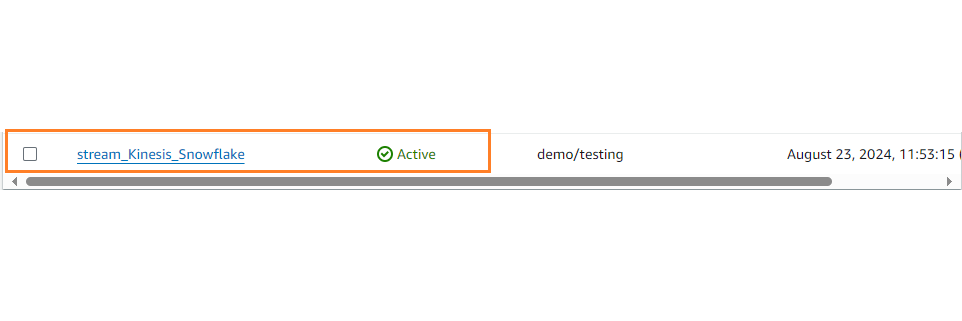
Provide the bucket name and click Create Firehose stream button, the stream is created.
Enable routing:
Now, as the stream is ready to put the data into stream, we need to create a rule that sends the message to the stream so that eventually the stream puts the data into snowflake.
Rules give your devices the ability to interact with AWS services. Rules are analyzed and actions are performed based on the MQTT topic stream.
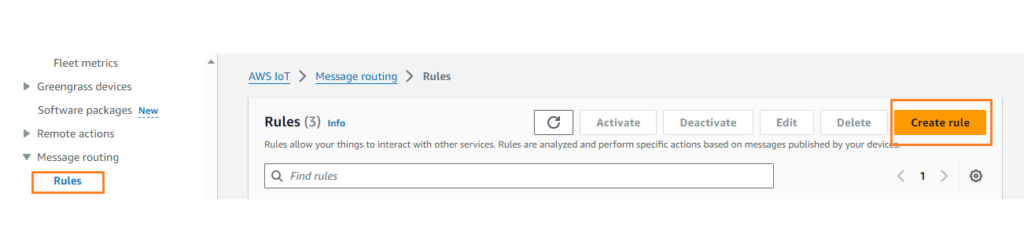
Navigate to AWS IoT > Message routing >Rules
Click on Create Rule button
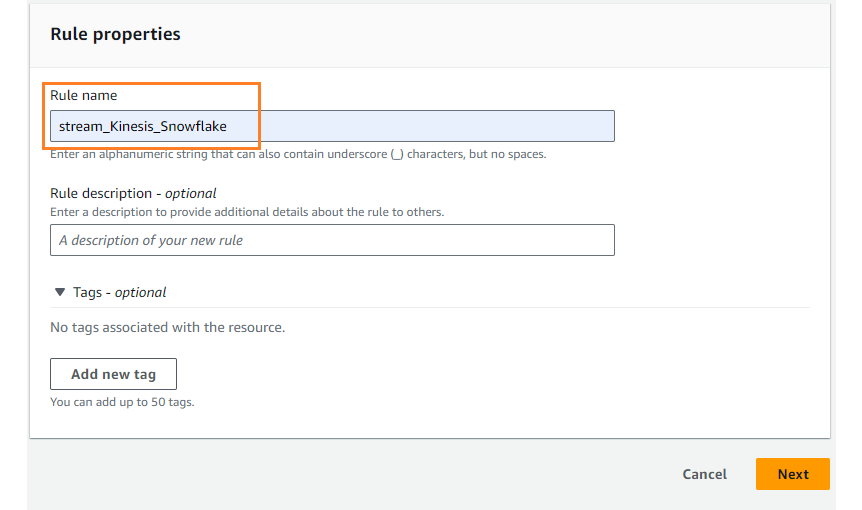
- Step 1
Specify rule properties: Give a rule name and click Next.
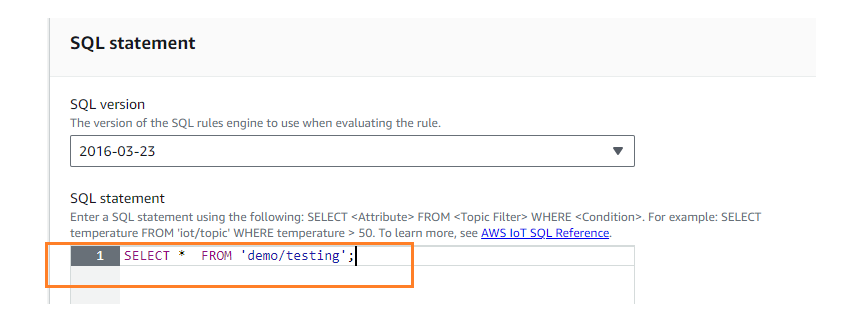
- Step 2
Configure SQL statement:
Under SQL statement,
Enter a SQL statement using the following: SELECT <Attribute> FROM <Topic Filter> WHERE <Condition>.
For example: SELECT temperature FROM ‘iot/topic’ WHERE temperature > 50.
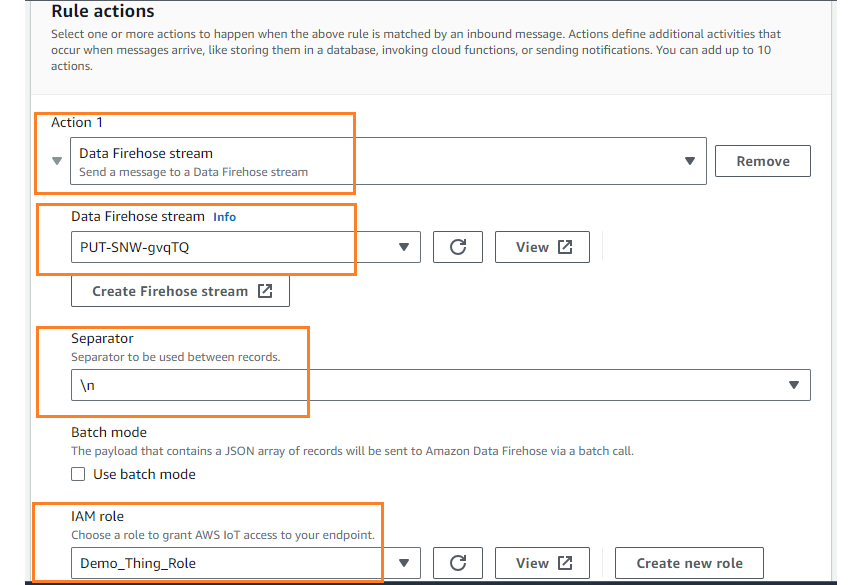
- Step 3
Attach rule actions:
Select one or more actions to happen when the above rule is matched by an inbound message. Actions define additional activities that occur when messages arrive, like storing them in a database, invoking cloud functions, or sending notifications. You can add up to 10 actions.
Choose Data Firehose stream and select the stream name that is created in previous step.
Further,
Separator
Separator to be used between records such as, Comma (,), New Line(\n), Tab(\t), Windows new line (\r\n), No separator (default)
Batch mode
On selecting the check box, the payload that contains a JSON array of records will be sent to Amazon Data Firehose via a batch call.
IAM role
Choose a role to grant AWS IoT access to your endpoint.
Choose an IAM role
AWS IoT will automatically create a policy with a prefix of “aws-iot-rule” under your IAM role selected.
- Step 4
Review and create
Test the flow:
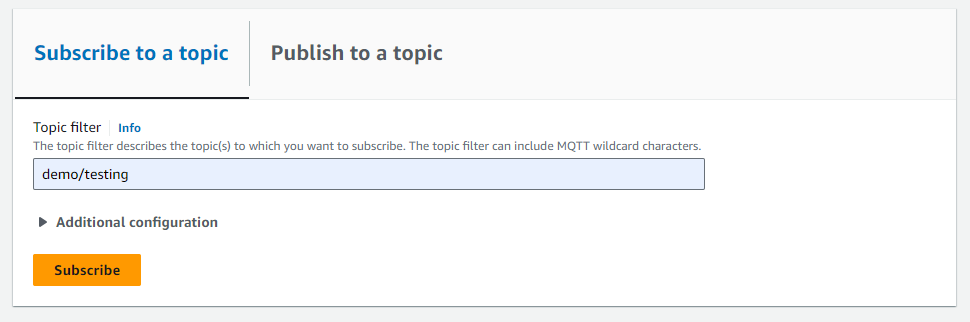
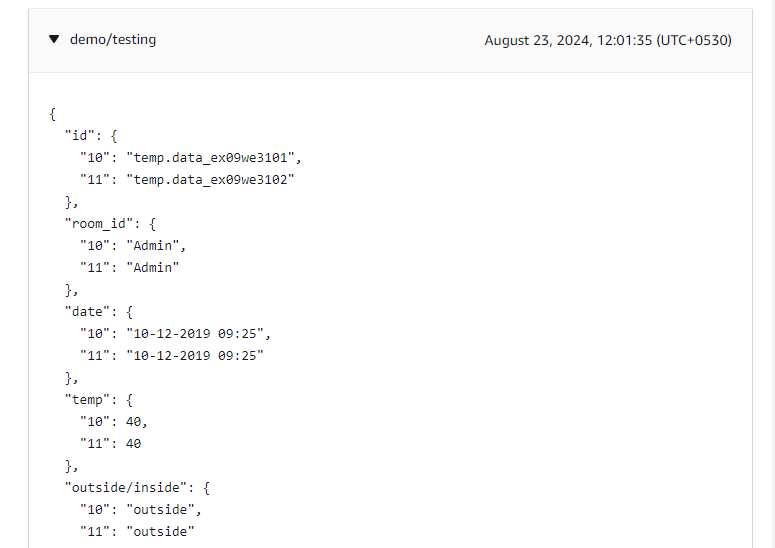
To test if the flow is working as expected, start by navigating to the MQTT Test Client. Under the “Subscribe to a topic” section, enter the topic name in the “Topic filter” field and click “Subscribe.” Next, run the Python script on the other side. After about a minute, you should see data flowing into AWS IoT Core. To verify that the data has successfully reached its destination, query the corresponding table in Snowflake.
Conclusion:
This process ensures that data from your IoT devices is efficiently routed through AWS IoT Core and Kinesis Data Firehose, ultimately reaching your Snowflake tables for further analysis and decision-making. We specialize in modern data platform implementations and are a Snowflake Select Partner. Please feel free to reach out to us for your Snowflake needs.